This topic aims to explain the difference between Kit and Kit Look and how to configure them!
When a product is created to be sold as a kit (kit only, not kit look), it is “closed” — meaning that when your customer buys that kit, they are obligatorily buying all the items within it; it’s like a “closed box” of products, with a final price set by you.
When the “kit look” option is enabled, your customer can choose to buy the complete kit or just some of the pieces. This is useful, for example, if you want to suggest items that can be worn together but don’t necessarily all need to be purchased together. For instance, the store suggested a complete look, and the customer can choose between buying all the pieces or buying each one separately. If this were just a “regular” kit, the option to buy items separately would not be available on the page — only the complete look would be.
One important piece of information: whether you’re creating a kit product or a kit look product, you must, without exception, create a new product in the store. If you take an existing SKU and turn it into a kit/kit look, it will be deactivated on the site, and this action cannot be undone. In this article you’ll find detailed information about the process, but here’s the general step-by-step:
1 - Make sure the products you want to add to the kit/kit look are already registered, as in the example below (i.e., they appear as active in the product list):

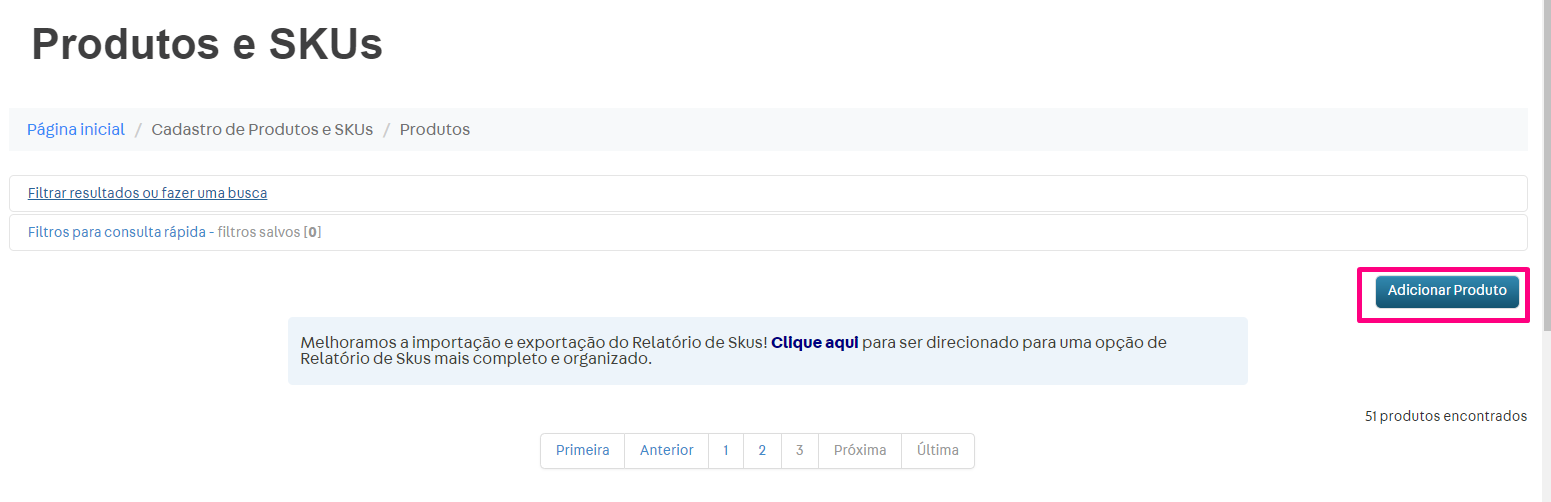
2 - Create the product that will be the kit (very important — do not change the configuration of an already registered product to make it a kit).
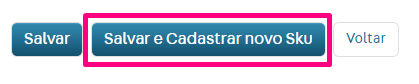
When you’re done entering the information, click save and register new SKU
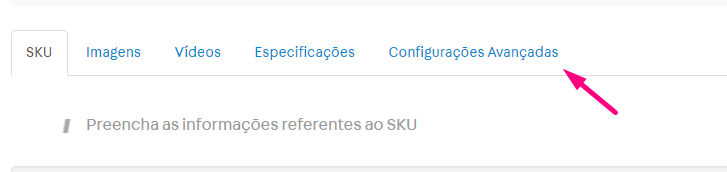
3 - After entering the usual SKU information, and before saving, go to the Advanced Settings tab
4 - There, you’ll find these two checkboxes. If you only enable the first one, the product you just created will be a “regular” kit. To make a kit look, both must be enabled.

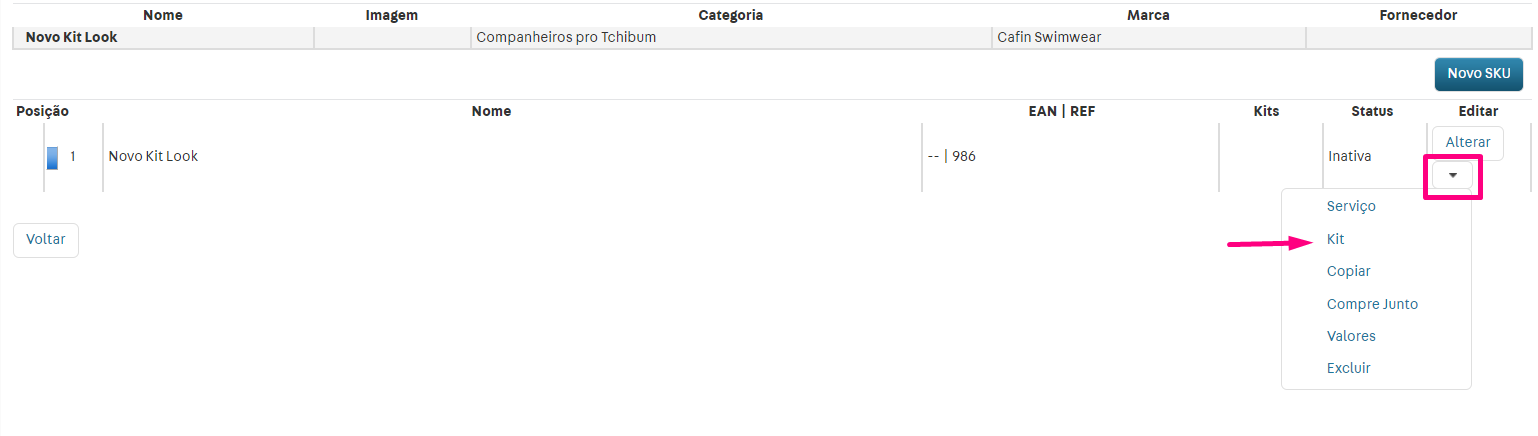
5 - After doing that and saving, you’ll reach this screen, where you can add items to the kit:

6 - On this page, you’ll select the item’s SKU, how many of it will be in the kit, and its price within the kit (which may or may not be the same as its regular store price — this is useful if you want to offer a discount on items purchased together in the kit)
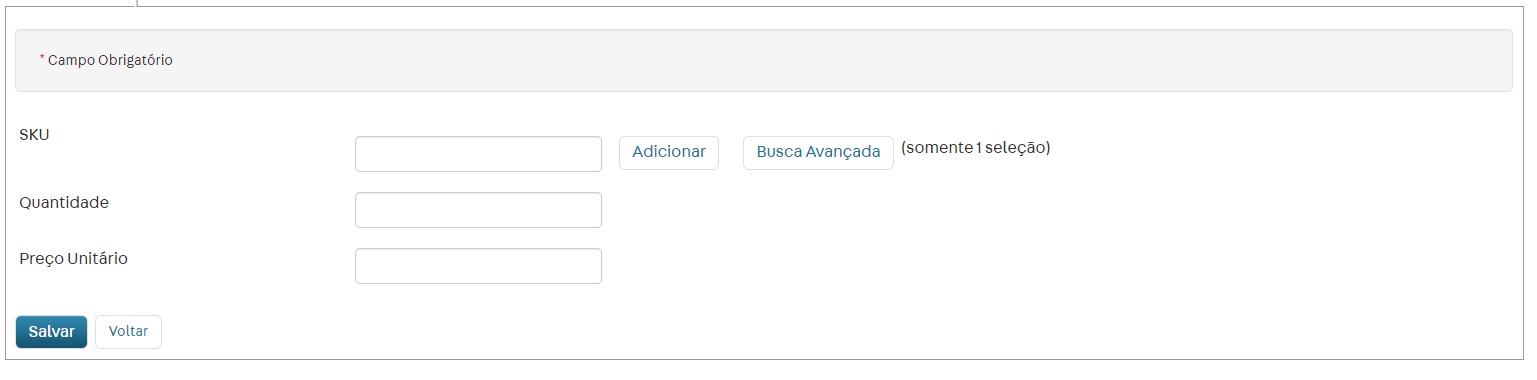
7 - You can repeat this step until you have all the items you want in the kit/kit look

The link I shared above has more detailed information about the process, and I also recommend this article from our Help Center, which specifically covers the Kit Look — how to set it up and some more specific aspects (such as page layout information).
Also, if you still have any questions on the subject, feel free to ask here! 
Márcia Alves
Field Software Engineer | VTEX